Last Updated on November 9, 2022 by Pauline G. Carter
The chicken coop is probably one of the things you should give importance and care to in growing your chickens. If you don’t have the budget to get a chicken feeder and waterer, the best choice you have is to go for the do-it-yourself versions.
You don’t need to shed a lot from your budget on buying feeders and waterers, instead, if you have an hour of your time to spare, you can build your chicken’s feeder and waterer from different materials lying around in your garage or you can purchase some essentials to add a touch of style to your backyard chicken coop.
If you have made the choice to get serious with regard to self-sufficiency and start to build your own little chicken coop, here are the 10 best DIY chicken waterer and chicken feeder plans and ideas that will definitely save you a few dollars.
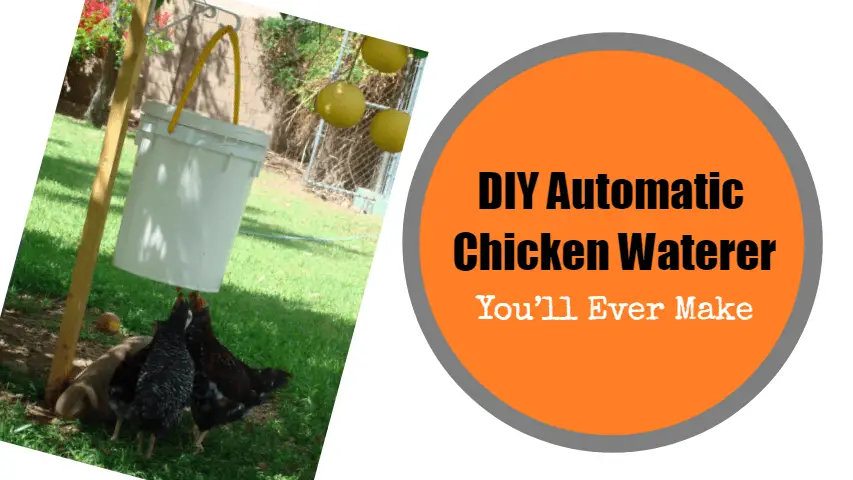
Related Article – Homemade DIY Automatic Chicken Waterer
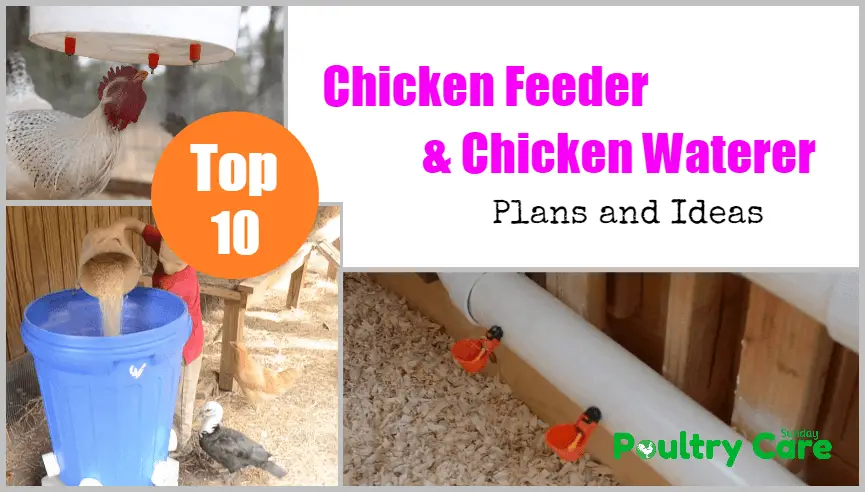
10 DIY Chicken Feeder And Waterer Plans
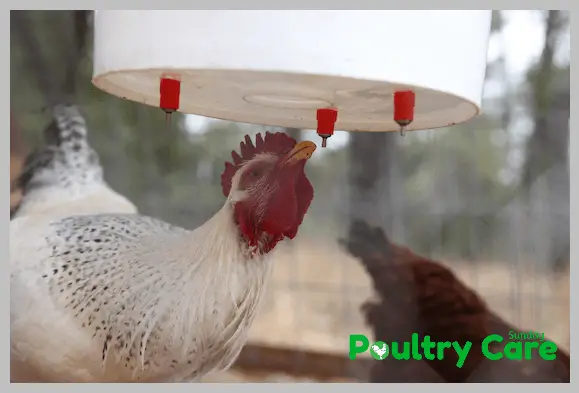
#1. Chicken Nipple Watering System from a 3 Gallon Plastic Bucket
This DIY chicken waterer will keep any dirt and bacteria from going into your chicken’s water and you don’t need to refill it for up to one week. In addition, with three to five nipples in place, you can keep around 20 of your chickens hydrated really well.
All you need to do is to take a 3 or 5-gallon plastic bucket that has a lid on it and drill 3 to 5 holes at the bottom using a drill bit size of 11/32. Remove any excess plastic residue, then get some grommets, dip them into the water and carefully push them one by one into the holes you made.
Now get your chicken nipples, wet them and with the help of a plier, push them into the grommet holes. Test your chicken waterer by putting in some water and pushing on the droplets to see if water will come out.
Recommended –Chicken Egg Incubator
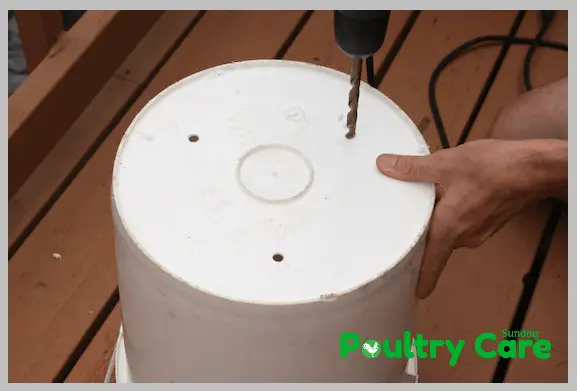
#2. DIY Chicken Feeder and Waterer from 5 Gallon Bucket
This is one of the easiest DIY chicken Feeders and also a Waterer project that you can take on. The first thing you need to do is to clean and empty the 5-gallon bucket you’re going to use.
Drill a few 1-inch holes along the edge near the bottom of your bucket all the way throughout the bottom. Make sure to leave at least 2 inches of space between each hole. Place your bucket right side up inside any foil pan used for roasting you have lying around.
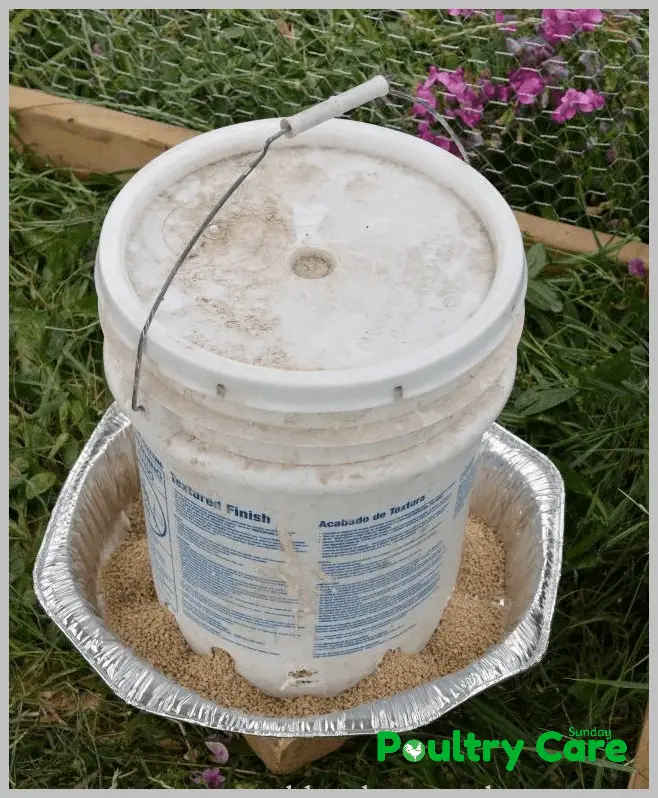
Fill the pan with your chicken feed. As your chickens eat, the feed will then pour through each hole and into the foil pan. To avoid having the chickens get to the feed from its top, cover the bucket with its lid.
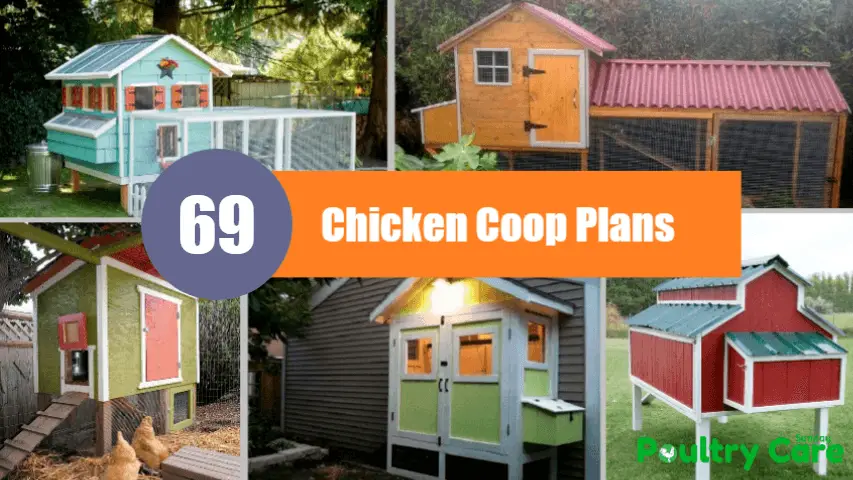
Related Article – 69 DIY Chicken Coop Plans and Ideas – Easy to Build (100% Free)
#3. No Mess Chicken Feeder
For this DIY, here is the material you need:
- A large bin, make sure it is clear with a lid
- 90 degree 3-Inch PVC elbows
- NP1 caulk or silicone
- Hand drill
- The hole saw 3.5-Inch in size
- Tape measure
- A marker
- Chicken feed
- A pair of safety goggles
The first step is to mark your bin at least one 1-Inch all the way around from the ground. And then get your drill and the hole aw and simply drill out holes for the PVC elbows. Cut a hole on the sides that are short and a couple of holes on the sides that are longer.
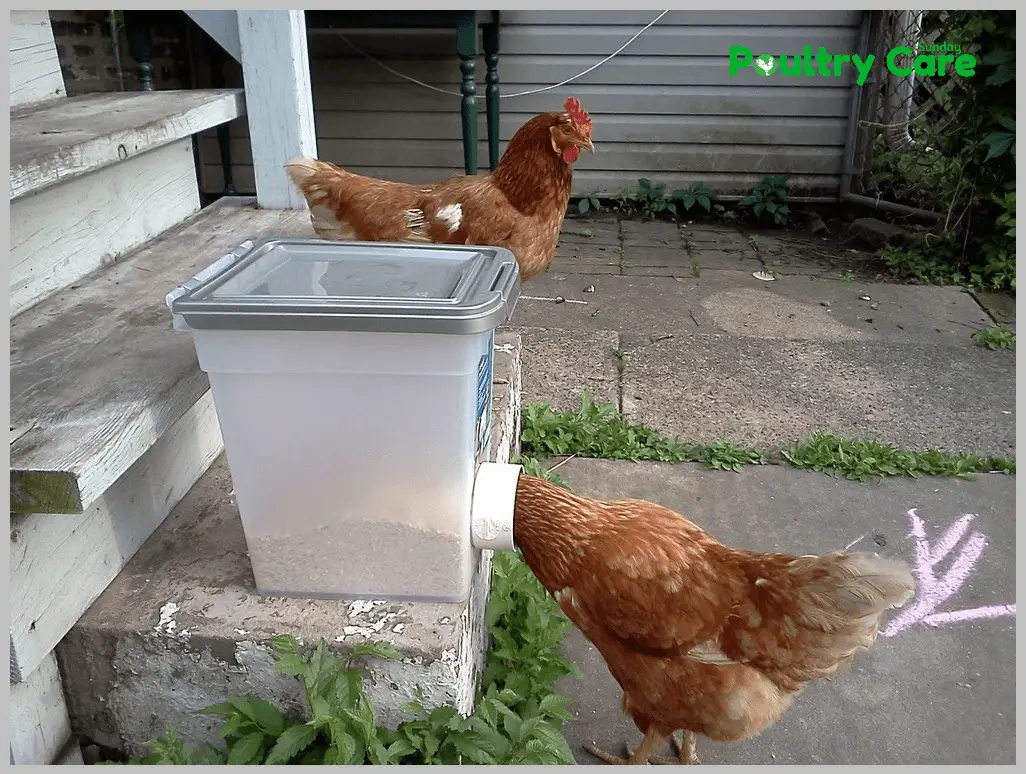
Fit the PVC elbows into the holes you drilled with the end pointing down inside. Starting from the inside, caulk the edges of the holes you drilled both inside and outside. Wait for everything to dry before filling your DIY chicken feeder bin with chicken feed.
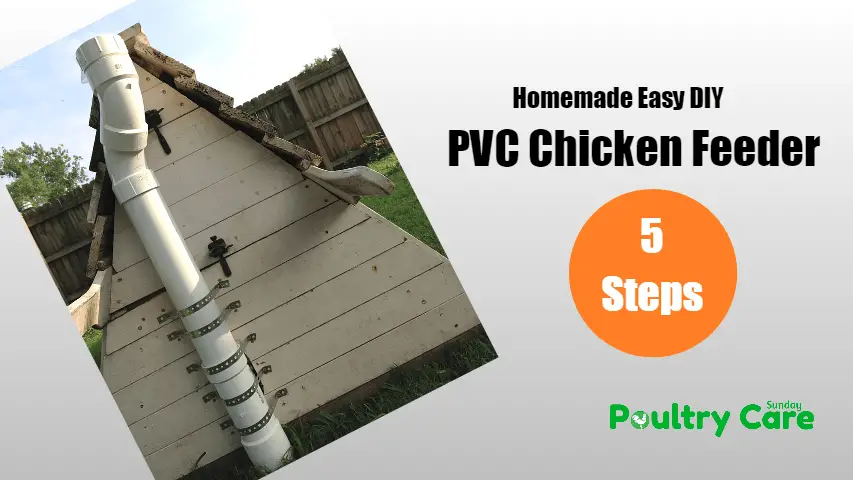
Related Article – How to Build PVC Chicken Feeder: 5 Steps (with Pictures)
#4. Homesteading DIY Chicken Waterer
This DIY chicken waterer homesteading can be made from simple items in your household so that your chickens can safely drink. The best part about this DIY project is that you can make it for less than one dollar! The things that you will need are a cake pan, coffee pan and a drill or a hammer and nail to punch holes.
Simply drill or punch in at least two holes at the bottom of your coffee can, put in some water and then get your cake pan, place it on top of the can, and then turn the coffee can upside down carefully. Pan will be automatically refilled with water as your chicken finishes drinking.
You may be interested to check – Chicken shirts on Lapommenyc Store
#5. Trash Can to Chicken Feeder
For less than 10 dollars, you can turn a 5 gallon everyday trash can into a chicken feeder that is perfect for a holding tank. The lid covering the trash will prevent the feeder from getting any nasty dirt and it will be easier to access when refilling it.
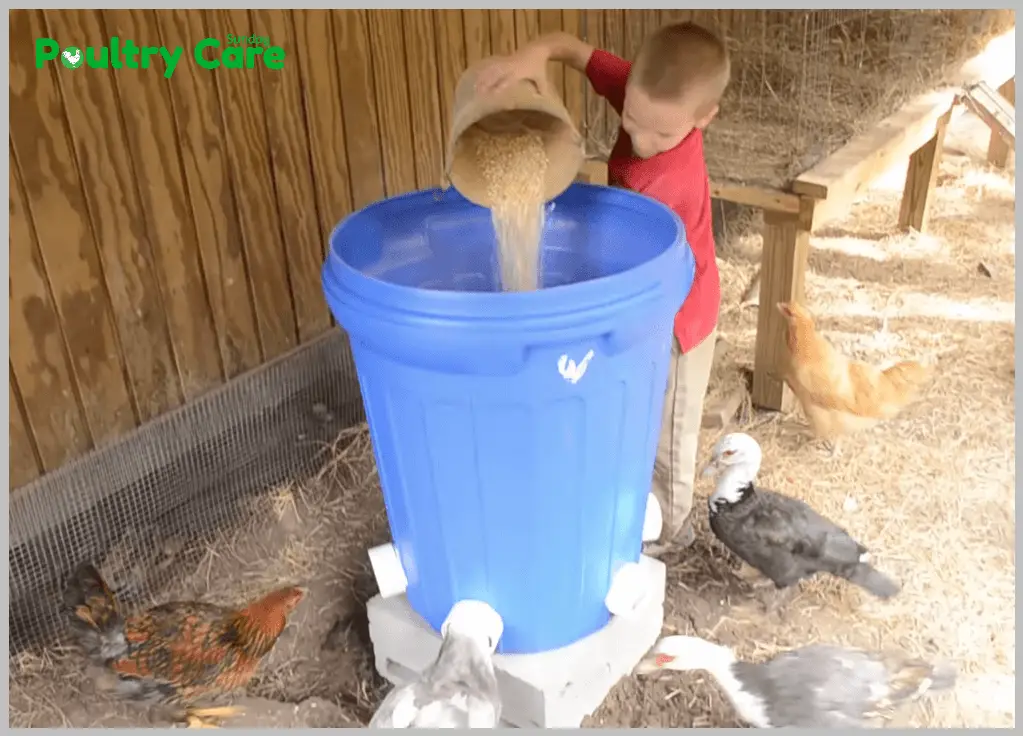
What you need to do is to create about half an inch of the slit at the bottom to let the fee fill your tray. For the tray, you can use an old clothes basket. Simply cut off its bottom and then attach the DIY tray to the plastic trash can’s bottom by using a blot that comes with some washers on either side.
We may be interested in checking recommended Grandpas Chicken Feeders; which are easy to use.
#6. 60 Second Chicken Feeder
If you have a blank DVD plastic container around do not throw it away. You can actually turn it into a chicken feed in as easy as 60 seconds. All you have to do is to slit around the plastic container leaving about half an inch in between the slits and making sure to avoid any damage to tabs that are sticking out.
These tabs are used to screw the base. Once you’re done, fill it with feed and screw the plastic container into its base. Then place it in a wide plate or bowl that you no longer use.
This is one of the cheapest DIY chicken feeders and you can even make three or more of them. This is ideal to use for at least 8 of your 3wk old chicks. It is great because you will be able to tell when you need to refill the feed.
#7. DIY Soda Bottle and PVC Chicken Waterer
This is a very affordable and simple DIY chicken waterer project. You don’t even need to buy anything if you have some materials available in your home to create it. But if you don’t have any, the project will just cost you about 10 dollars.
Screw on the PVC cap to one end of the PVC Y fitting. Create about two holes into the cap using a hammer and a nail, add more holes if needed. Fill a soda bottle with water, screw its cap on and turn it upside down into the other open of the PVC Y fitting.
The water will then start to drip and your chickens can simply put their heads inside the end that is open to get access to the drinking water.
#8. Automatic Chicken Waterer System
This is very easy to make. All you have to do is get a trash can and drill some holes towards its bottom to hardly fit a stopper too. Fit a rubber gasket which you can purchase with a bit of silicone on the stopper or spigot. Slide the stopper into place and to tighten it, even more, add another gasket nut inside with silicone. Wait for at least a day for it to dry.
Once dried, place it where you want and fill it with fit water to check if there are any leaks. Place a hose into the stopper or spigot. Let the water run and you’re all set. Also, surround it with a few bricks to make sure it is secure in its place.
#9. Re-purposed Chicken Feeder from Vinegar Jug
What you will need:
- 1 Gallon empty vinegar jug
- The bottom half of a takeout food container
- The chain from an old light fixture you’re no longer using
- Drill
- A pair of pliers for pulling the chain links apart
- Three screws and bolts for holding the jug and plate
The first thing you need to do is to cut at least 3 1Inch holes at the bottom of the vinegar jug. This is where your feed will spill out into the takeout food container. Cut the jug’s top off and drill into the base dish through the bottom of the vinegar jug in three different places.
Add the screws into the holes and secure them with bolts. Drill or cut some holes at the top of the jug where the chain will go through, then cut the chain to make a hanger and reconnect. Fill the jug with feed and hang it in your chicken coop.
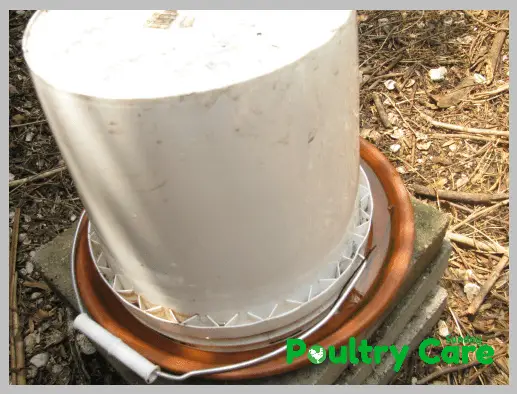
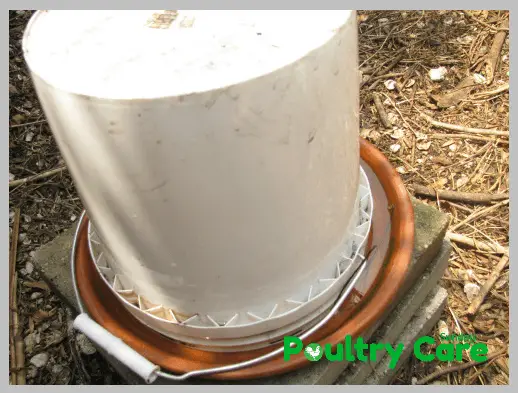
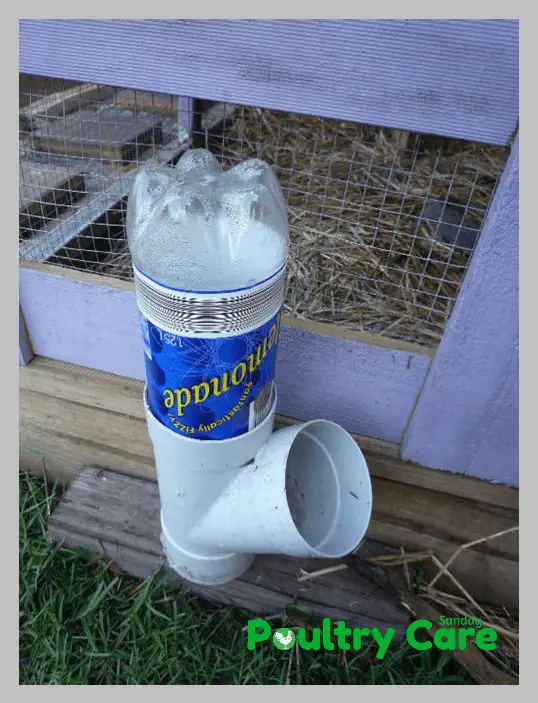
#10. Chicken Waterer from PVC Sewer Pipe
This is another simple and easy DIY chicken waterer. All you need to do is to cut the sewer pipe to about 4 feet. This will give you at least 2 to 3 gallons of water. Use a PVC solvent to seal the bottom. Put some silicone sealant onto the backup threads and then insert it into the hole which is about 3/8 inch.
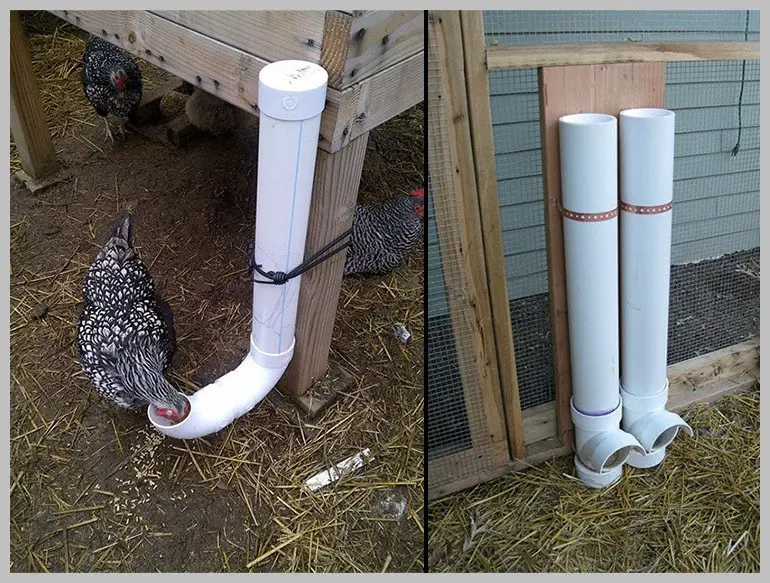
Let the base set according to the silicone sealant’s drying time. Put the female adapter onto the PVC sewer pipe, fill it with water and then thread the top cap on. Mount your DIY chicken waterer. It should be as high as the height of the smallest chicken you have.
Where To Put Chicken Feeder And Waterer?
One of the first things you need to do when setting up a chicken coop is decided where to put the chicken feeder and waterer. When making this decision, there are a few things to consider, such as the size and layout of your coop, the number of chickens you have, and what kind of feeders and waterers you are using.
One of the most important things to consider is the height of the chicken feeder and waterer. Chickens like to perch on top of their feeders and waterers, so you need to make sure they are high enough off the ground that the chickens can easily reach them. You also need to make sure that the chicken feeder and waterer are not too high off the ground, or the chickens will mess up.
Should I Hang My Chicken Feeder?
It is generally recommended that you hang your chicken feeder rather than putting it on the ground. This helps keep the feed clean and dry and prevents rodents from getting to the feed. If you put your chicken feeder on the ground, make sure it is in a place where the chickens cannot scratch it and make a mess.
Where Should I Put My Chicken Waterer?
The chicken waterer should be placed in a different location from the chicken feeder. This is because chickens like to drink after eating, and you don’t want them to get dirty water. The chicken waterer should also be placed where the chickens can easily reach it.
How Many Chicken Feeders and Waterers Do I Need?
The number of chicken feeders and waterers you need will depend on the number of chickens. A good rule of thumb is to have one chicken feeder for every four chickens and one chicken waterer for every eight chickens.
What Kind of Chicken Feeders and Waterers Should I Use?
There are many different types of chicken feeders and waterers available. The type you use will depend on your personal preference and the needs of your chickens. Some chicken feeders and waterers are designed to be hung, while others can be placed on the ground.
There are also automatic chicken feeders and waterers available, which can be helpful if you cannot fill the feeders and waterers every day. Automatic chicken feeders and waterers are also helpful if you will be away from home for an extended period.
Do I Need to Worry About Chicken Feeder and Waterer Placement in the Winter?
In the winter, you will need to take some extra precautions with your chicken feeder and waterer. Make sure the chicken feeder and waterer are in a place where they will not freeze. It is also good to put a heater near the chicken feeder and waterer to keep the water from freezing.
As you can see, there are a few things to consider when deciding where to put your chicken feeder and waterer. Take the time to plan and make sure the chicken feeder and waterer are in a safe and convenient location for your chickens.
DON’T MISS
- 10 A Frame Chicken Coop Plans And Ideas – Easy to Build (100% Free)
- 15 Most Common Chicken Diseases, Symptoms and Treatment
- Wyandotte Chickens, In the Pecking Order, Come Out Tops
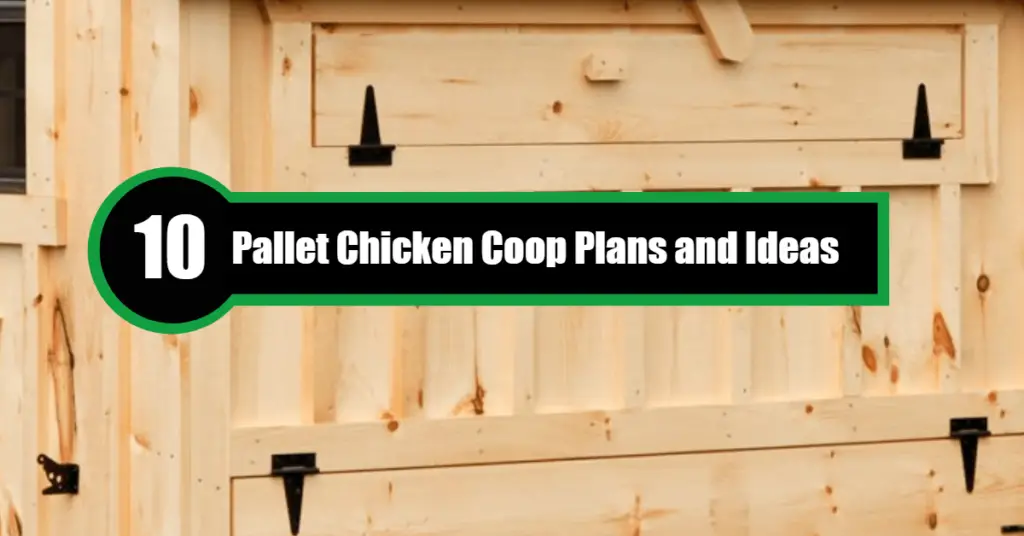
- 10 Pallet Chicken Coop Plans and Ideas
- List of 80 Chicken Breeds – Information and Pictures
About Author (Pauline G. Carter)

Pauline G. Carter is a well-known pet blogger who has written about the world of pets for several years. She is passionate about pets, from cats and dogs to birds, reptiles, and poultry. Her blog, which is updated regularly, is filled with articles and guides on pet care, nutrition, and training. She also shares her experiences and observations on pet ownership, making her blog relatable and informative for pet lovers. She is a true animal advocate and is dedicated to promoting responsible pet ownership. Let’s Go …