Last Updated on February 9, 2021 by Pauline G. Carter
When we want to do or achieve something and we want to spend less on it, we have to think out of the box. Just like when some chickens are so choosy that they do not want to eat those feeds scattered on the coop floor. What to do?
Does making your own automatic chicken feeder come to mind? Yes, we can definitely make our own homemade DIY auto chicken feeder.
These chicken feeders must be easier to make, no feed loss at all, can hold more feeds securely and safely for the chickens, can hold any type of feeds, multi-accessed, clog- free, all poultry -purpose, all weather friendly, and at low cost.
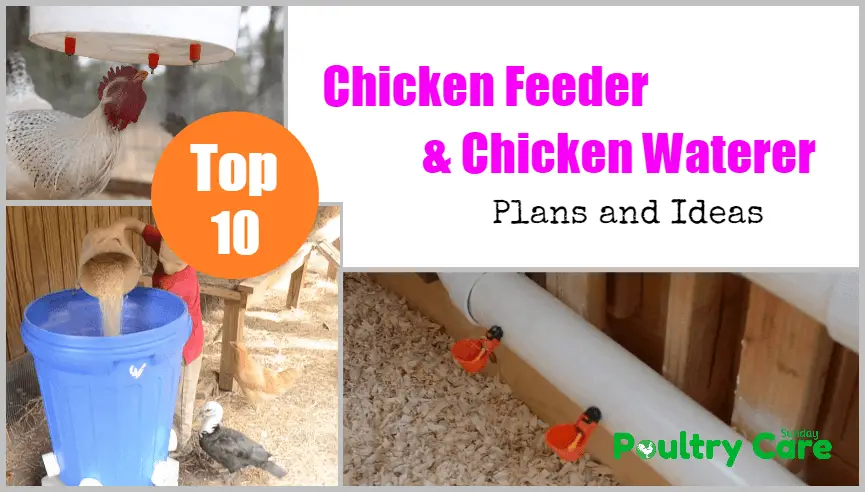
Related Article – 10 DIY Chicken Feeder And Waterer Plans And Ideas
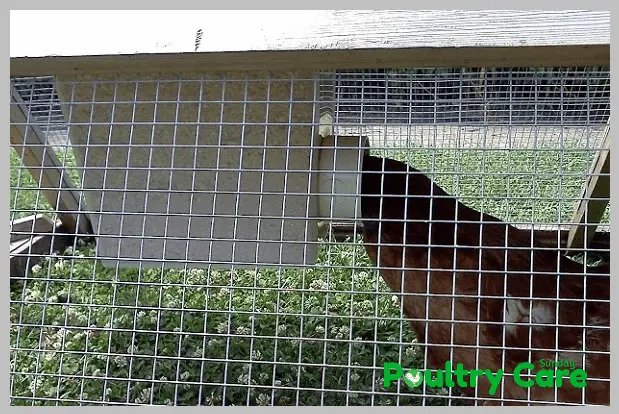
Automatic chicken feeders must also be rodents-free. In general, mice and rats cannot get into slippery materials such as hardened plastic or galvanized steel. Raise the container off the ground slightly so rodents will find it hard to climb.
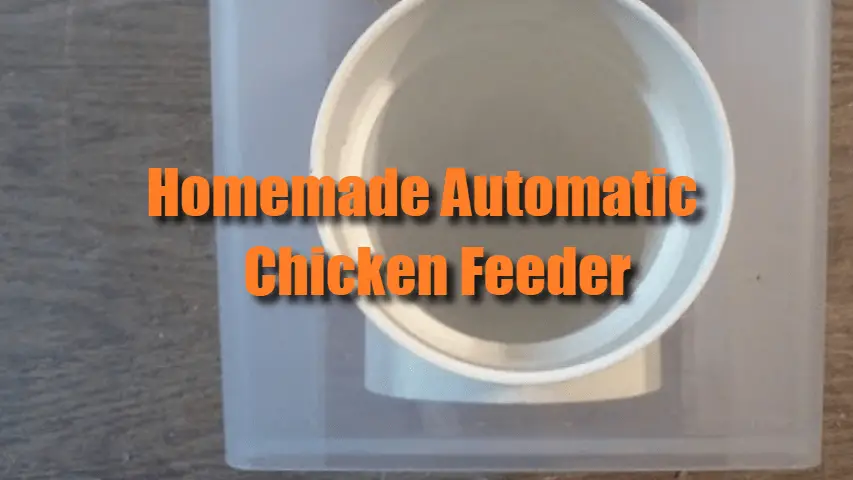
No Mess Homemade Automatic Chicken Feeder
Here are the materials needed:
Here is the step by step guide for making a no mess homemade chicken feeder yourself:
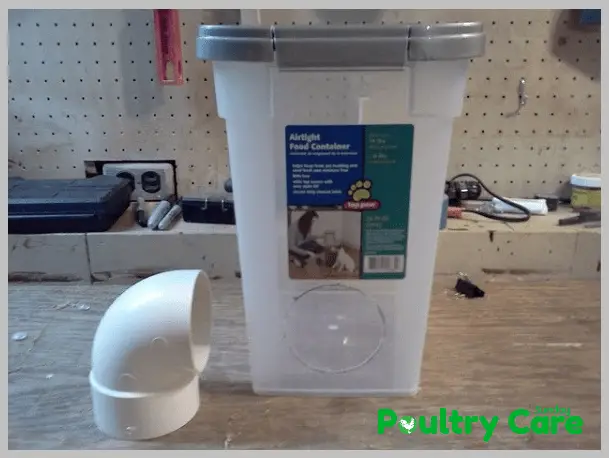
1. Picking A Suitable Container
I highly suggest the rectangular bin, bucket or container. Chicken may not reach the center of big containers so feeds will be stagnant. Choose one that is sized enough that the chicken can reach and consume their feed.
The neck of an average-sized hen can reach around 9 inches. So we must use a container having a base diameter of lesser than 18 inches and one that can be used for feeding other poultry as well.
The container must be sturdy enough to handle all kinds of weather, the rain, and winds.
Choosing a container that can hold about 14 liters of feeds can last few chickens a week or so. It makes feeding less supervised and seldom, saving you time.
But of course, refilling frequency of the automatic chicken feeder depends on the number of your chickens.
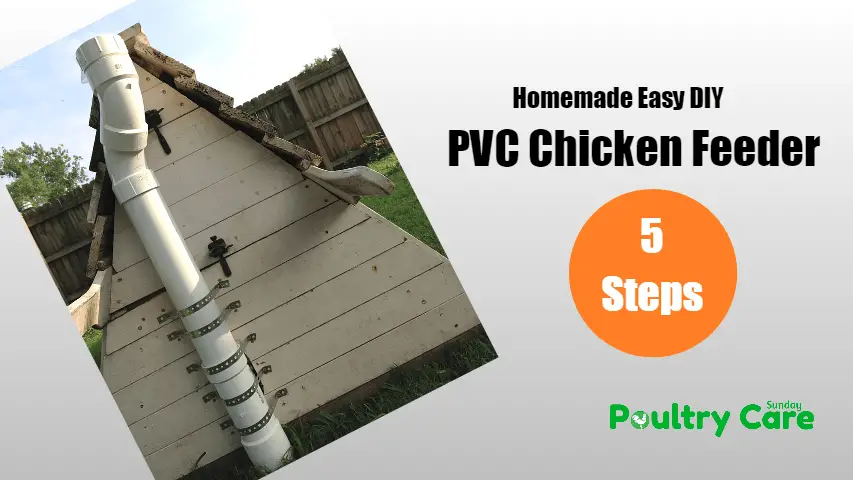
Related Article – PVC Chicken Feeder: 5 Steps (with Pictures)
2. Measuring Feed Holes
From 6 inches by 6 inches cardboard, make a square template. Design a U-shape by rounding the corners off at the bottom. Using the template, mark out where you want the feeder holes to go.
Then place it 6 inches from the container base. The chickens may have a difficulty in reaching the bottom of the container if the base of the hole is any higher than 6 inches.
If your container is small, two holes may suffice, but if it is larger and you want to feed more fowls at the same time, you may add more feeder holes.

3. Cutting Out The Feeder Holes
A tool cutter for cutting metal or plastic container is needed. Cut out your marked area. You may drill a few starter holes to make the remaining ones easier to do.
Then you may start cutting with snips. Holes must be snug fit for the chicken’s necks.
4. Fitting The Comfort Rail
It is better to have an area for the chickens to easily and smoothly slide their necks over when feeding. Measure a hose about 6 to 8 inches. Alternatively, you can use 1-inch irrigation hose.
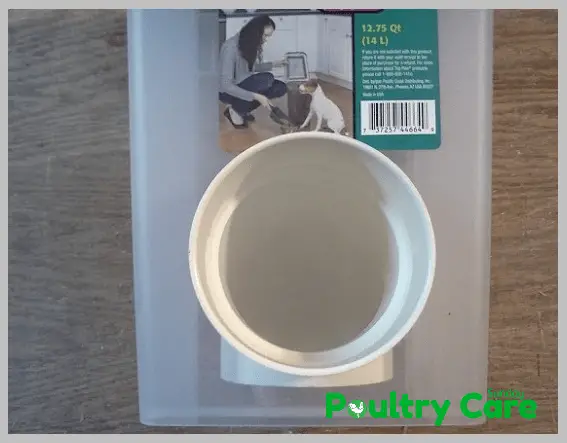
Cut it length-ways then push it firmly into place over the bottom of the access hole. The thin and sharp edge may rub and harm chicken necks and may even cause their death.
5. Securing The Container
Aside from pooping at the chicken feed container lid, chickens have a tendency to jump over it when aiming for their roosts. Aiming for higher spots or perch looks like a chicken’s survival method.
Now, before they can perch on the lid’s edge and before the container falls down and scatter away the feeds, we must secure its base from the very start of the feeder making. We may put a heavy bar or wood at the base’s four corners.
We can also make it concrete. Using 4 pcs of 2×2 heavier woods as a post on all sides can serve the purpose, too. This is advisable for steady or fixed chicken coop.
For portable chicken coop, we can slightly raise the chicken feeders. Yes, we can hang it inside the coop as long as the chickens can reach for it comfortably.
It must also be placed securely that when being transferred, these chicken feeders cannot leak.
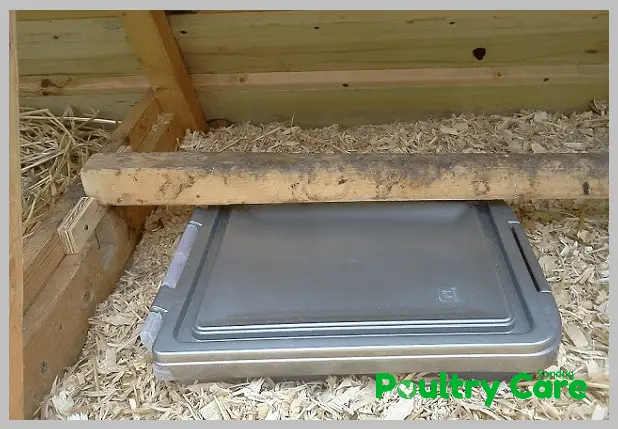
6. Finding A Cover
Not all containers come with a lid. If this is the case, you may use any old but fitting lid or wood and weigh it down with a brick.
You may find it messy and disgusting when the chickens go up the lid and poop there. My suggestion is that; put a triangular design on top of the cover to avoid this.
One thin enough that chickens may fall if they put their feet on it – a sliding triangular design.
7. Filling The Feeder
The perfect feed fill is about an inch from the bottom lip of the comfort rail. Do not overfill past the base of the access hole of the feeder or, obviously, it will overflow.
Final Verdict
There goes our no mess, no fuss, no rodents, economical and easy to make automatic chicken feeders. Now, you won’t need to put a catching pan under the chicken feeder to catch a lot of what the chickens flung. The feeder itself saves the feeds.
Time to cut the frequent visits to the feed store, too. This practical 7-steps auto chicken feeder saves time and money!
Will be happy to hear from you if this DIY chicken feeder guide has helped you in any way.
DON’T MISS
About Author (Pauline G. Carter)

Pauline G. Carter is a well-known pet blogger who has written about the world of pets for several years. She is passionate about pets, from cats and dogs to birds, reptiles, and poultry. Her blog, which is updated regularly, is filled with articles and guides on pet care, nutrition, and training. She also shares her experiences and observations on pet ownership, making her blog relatable and informative for pet lovers. She is a true animal advocate and is dedicated to promoting responsible pet ownership. Let’s Go …