Last Updated on March 24, 2026
If you are tired of cleaning out your poultry waterer each day, here’s a simple homemade DIY automatic chicken waterer which will provide clean and fresh water for your chickens all year round.
It is definitely rewarding to raise your own chickens. You can have fresh eggs anytime you want them as well as fresh chicken meat if you are so motivated by it.
But if you work on a busy schedule, you have kids or love to go travel or camping, you may be holding off on getting them and always wondering who will take care of your precious chickens.
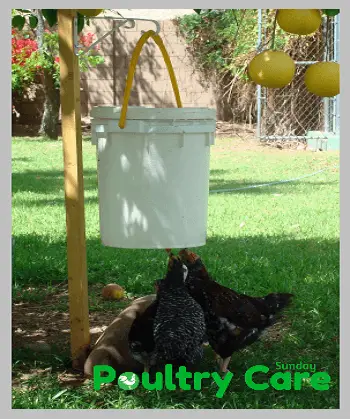
A DIY automatic chicken waterer is actually not that difficult to make. The idea here is to create a reservoir to fill up and create the height for the cup. The convenient way to do this chicken waterer is by using a 5 gallon bucket.
Because it has sufficient height to house the fill valve and big enough not to easily tip over when standing up and also you can get a lid that can fit it very easily.
Related Article – 10 DIY Chicken Feeder and Waterer Plans and Ideas
Steps on How to Create Automatic Chicken Waterer
What you will need?
Step 1: Gathering your supplies
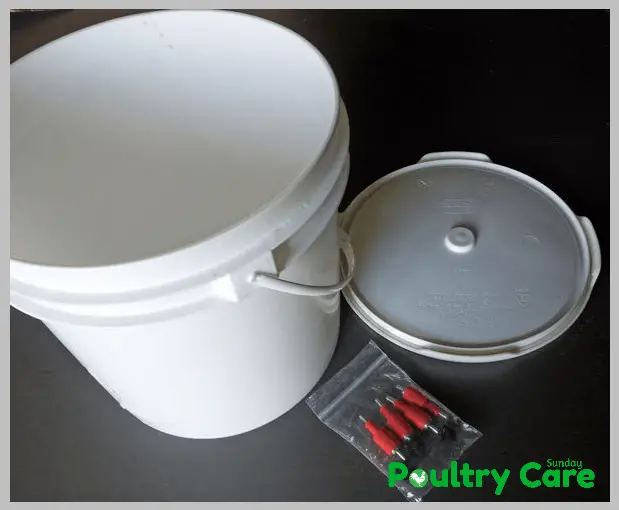
If you do not have any spare 5 gallon bucket, you can purchase it at your local home improvement store for about $6 or you can ask any big fast food restaurants and they will be happy to give you one for free.
You can buy your chicken nipples on ebay where it is cheapest. The drill bit is an odd size so if you do not have one in your tool kit, you can purchase it for about $5.
Silicone caulk is optional and is not required if the seal of the chicken nipples are tight, but you can go ahead and use it for extra protection against leaks.
Related Article – 69 DIY Chicken Coop Plans and Ideas – Easy to Build (100% Free)
Step 2: Drilling holes into the bottom of your 5 gallon bucket
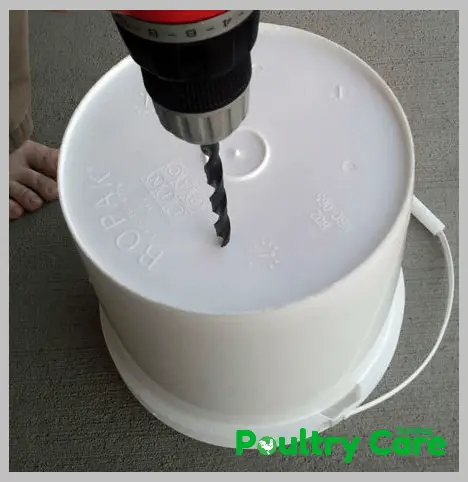
First, wash your bucket before doing any drilling. Mark out the position of the chicken nipples at the bottom of your 5 gallon bucket.
You will need an 11/32 sized drill bit which will be just the right size for the push style as well as the screw in style chicken nipples.
Make sure to double check the package for the size. Drill one hole for every nipple of your automatic chicken waterer. You can drill at least 3 in a triangular position.
Step 3: Installing the chicken nipples
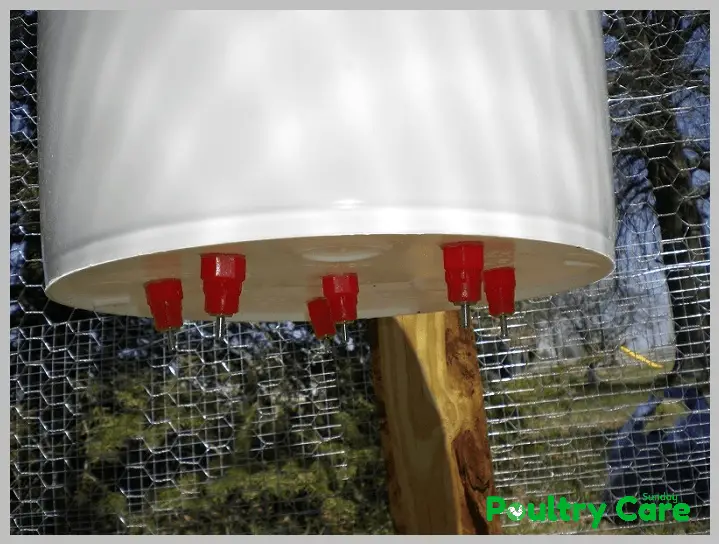
There are 2 types of chicken nipples that you can use for your chicken waterer, the screw in type and the push in type. Both come with a rubber grommet. If you will use the screw in type, simply screw it in, it is that easy.
This type that comes with a rubber grommet will require a little bit of elbow grease. Make sure to get the rubber grommet wet before sticking it in the hole. Then get the chicken nipple wet as well and push it into the rubber grommet.
This is actually the most difficult part in this automatic chicken waterer as It will take some serious effort for you to get the chicken nipples in there.
Related Article –How to Build PVC Chicken Feeder: 5 Steps (with Pictures)
Step 4: Testing your chicken waterer
Once you’re done with this simple automatic chicken waterer, you can go outside and hang it using the existing handle of the bucket. And you can also use a rope or chain in the coop, fill it with fresh and clean water and place the lid on.
With this kind of chicken waterer, the water will definitely be cleaner and will last longer. This 5 gallon bucket will last a lot longer than other chicken waterers out there. Make sure to refresh the water periodically at stale water may not taste good.
Step 5: How to get your chickens to use an automatic chicken waterer
There will be a little bit of learning curve when you first put this chicken waterer into your chicken pen or coop. Your chickens will not know what it is at first.
You can try removing what you’re using first like an old water dish and then pushing on the nipples that your chicken will see the water steaming out of it.
Your chickens will be able to get it in a day or so and you will see them all use it occasionally the whole day through. This chicken waterer is fun, easy to build and easy to maintain. This DIY project will only take less than an hour to make.
It will keep you needy chickens hydrated and you will be rewarded happily. There really is a lot of joy from collecting fresh new eggs on a daily basis if it is possible.
DON’T MISS
- hand-o-right
- hand-o-right