Last Updated on September 23, 2026
Homemade dry dog food can be made with meat, grains, and a dehydrator or oven.
I have worked with dogs and made dry dog food at home for years. I know how to balance recipes, keep food safe, and test palatability. This article walks through how to make dry dog food step by step, from ingredient lists to baking and dehydrating methods. You will get clear recipes, safety rules, storage tips, and vet-minded nutrition guidance so you can make dry dog food that your dog will love and that meets basic nutritional needs.
Why make dry dog food?
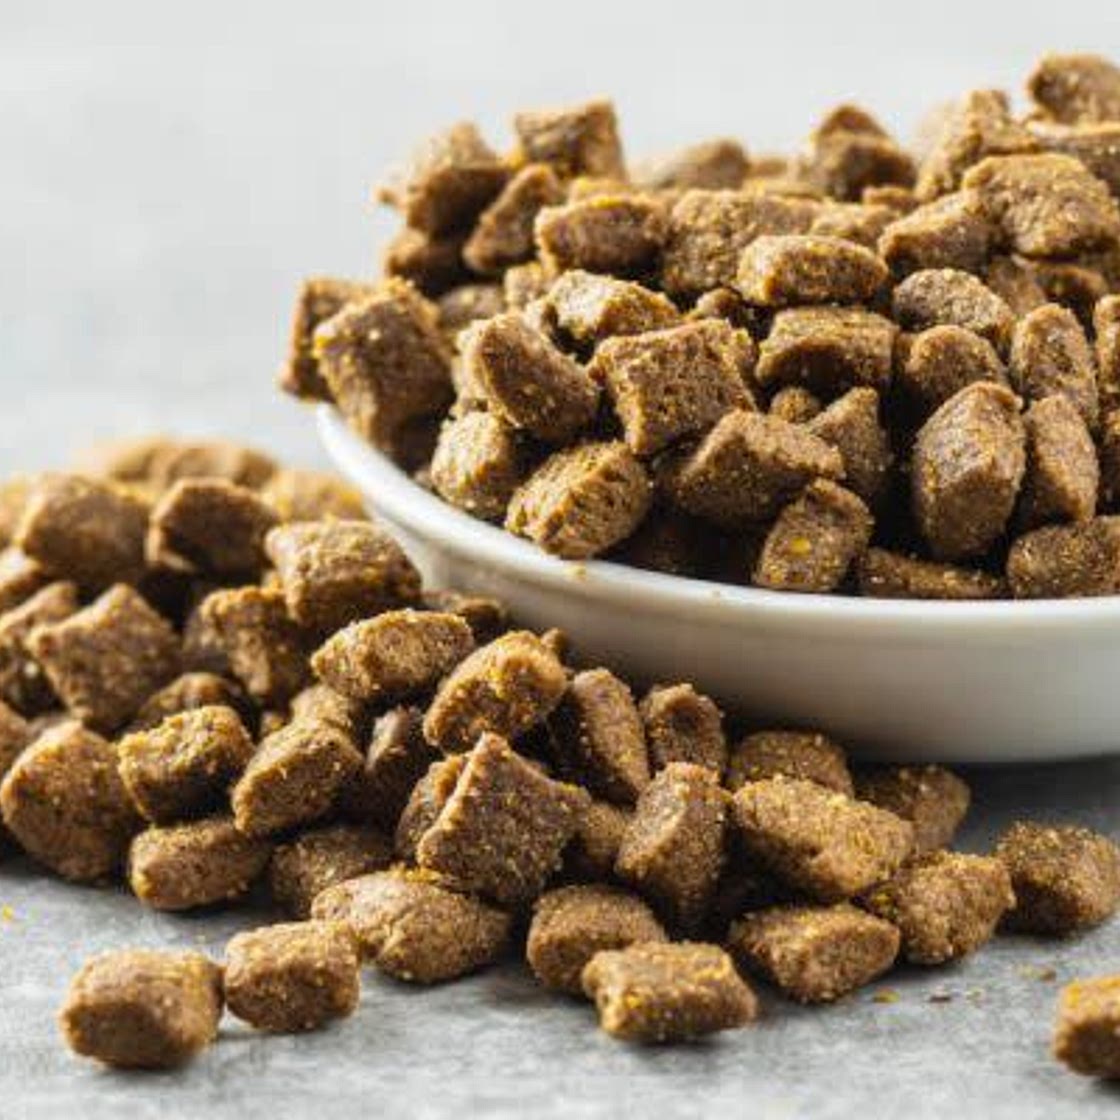
Making dry dog food puts you in control of ingredients. You avoid fillers, additives, and cheap renderings. Many pet owners choose homemade food to manage allergies, prefer fresher ingredients, or save money over premium kibbles.
I make dry dog food for my older dog when she has stomach upsets. Fresh control helped her digestion and coat. Still, homemade dry food needs care. Work with a vet or nutritionist to ensure balance.

Ingredients and nutrition basics
Dogs need protein, fat, carbs, fiber, vitamins, and minerals. A balanced base might be 40 to 50 percent protein, 20 to 30 percent fat, and the rest carbs and fiber for many adult dogs. Puppies, seniors, or dogs with medical issues need different ratios.
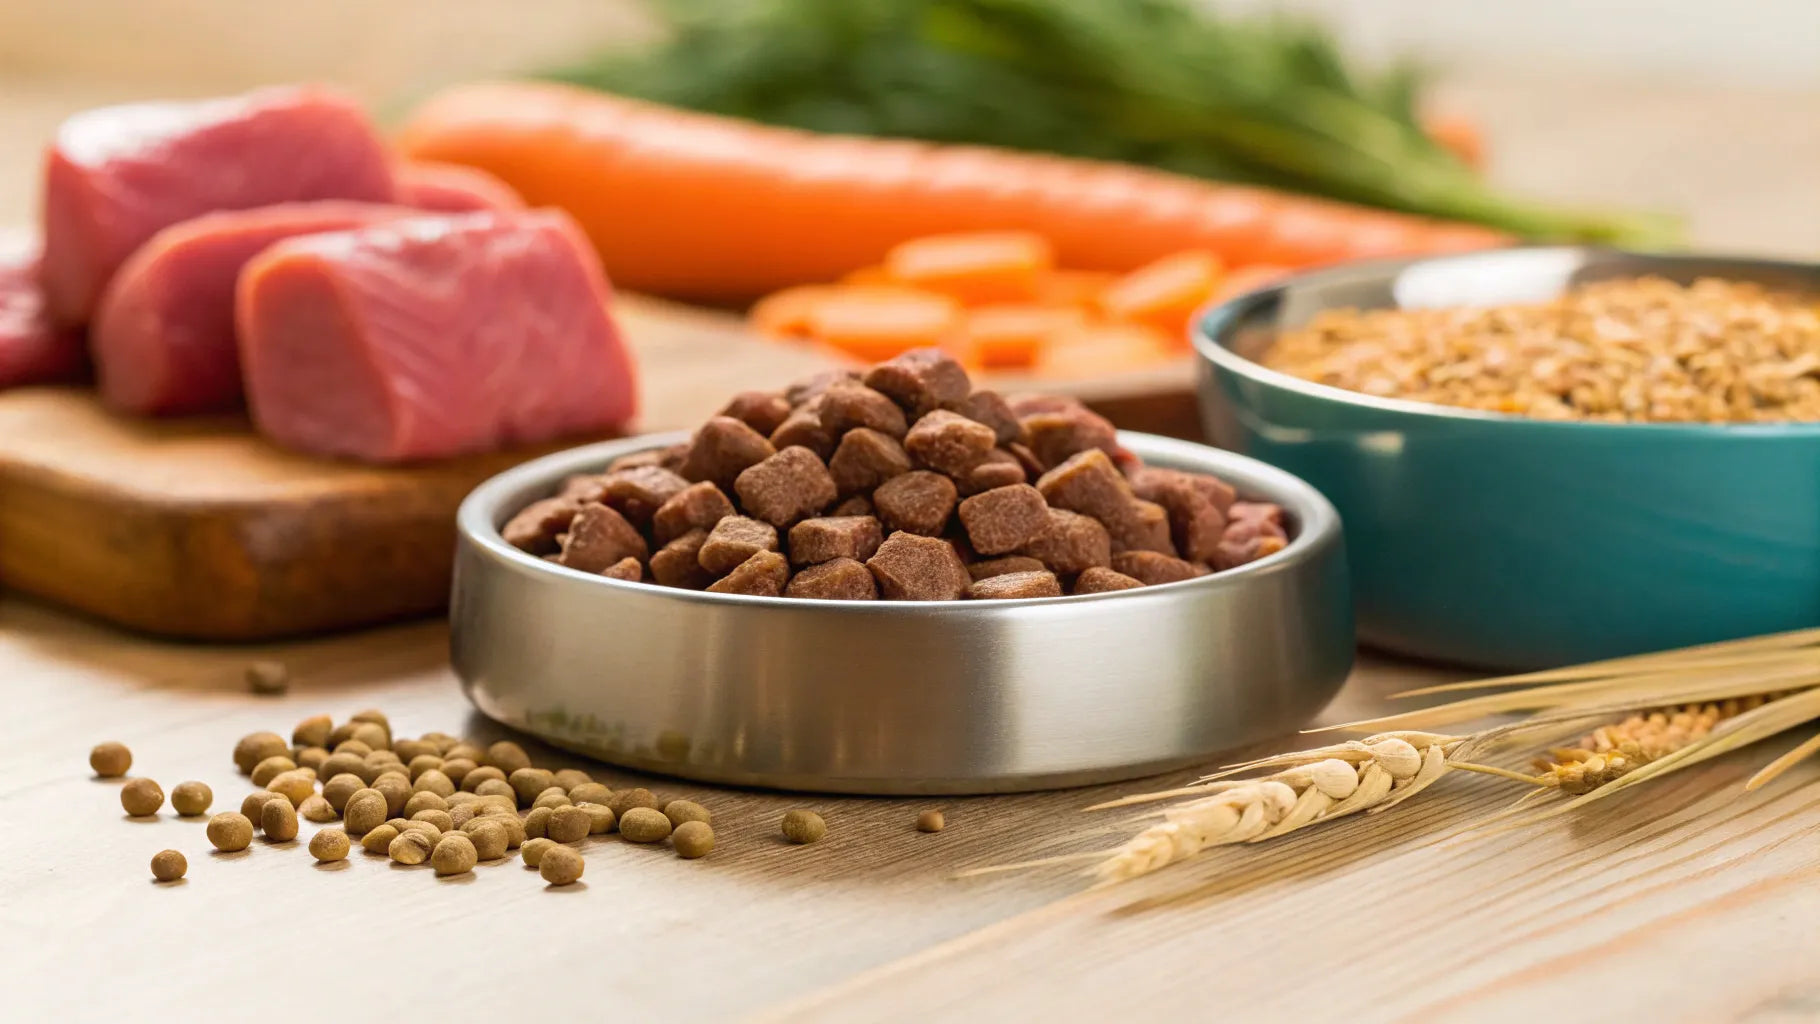
Key ingredient groups
- Protein sources: chicken, beef, turkey, lamb, fish, or organ meat.
- Carbohydrate sources: rice, oats, sweet potato, or barley.
- Fats: fish oil, chicken fat, or small amounts of plant oil for omega-6.
- Vegetables and fiber: carrots, peas, pumpkin for digestion.
- Calcium and minerals: ground bone, bone meal, or a balanced supplement.
- Vitamins: a canine multivitamin or brewer’s yeast can help.
Balancing tips
- Use whole food first. Add supplements when needed.
- Avoid garlic, onion, large amounts of salt, raisins, grapes, and chocolate.
- Check calcium-to-phosphorus ratios; dogs need more calcium than many recipes supply naturally.
Source: houndsy.com
Equipment, safety, and prep
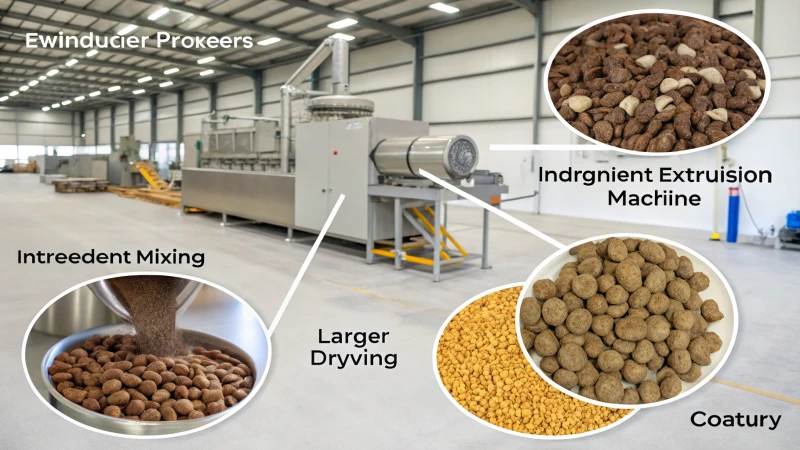
You do not need industrial gear to make dry dog food. Basic household items work well.
Essential equipment
- Mixing bowls and measuring cups for accuracy.
- A food processor or blender to grind meats and grains.
- Baking sheets and a reliable oven or a food dehydrator.
- Airtight containers or vacuum sealer for storage.
Food safety rules
- Cook meats to safe internal temperatures. Ground poultry should reach 165°F.
- Keep raw meat cold and work on clean surfaces.
- Dry food must be fully dehydrated or baked until low in moisture to prevent mold.
- Label batches with date and recipe notes.
Prep tips
- Measure ingredients by weight for consistency.
- Make small test batches first. Scale up once you confirm balance and palatability.
Source: youtube.com
How To Make Dry Dog Food? Step-by-step recipes
Below are two reliable methods to make dry dog food at home. Both aim for low moisture and safe storage. Use these as templates and adjust ingredients for your dog’s needs.
Oven-baked kibble (simple method)
- Ingredients (makes about 8 cups)
- 2 cups cooked lean protein, finely chopped
- 1 cup cooked sweet potato, mashed
- 1 cup rolled oats, ground
- 1/2 cup cooked brown rice
- 2 tablespoons fish oil or flaxseed oil
- 1 teaspoon powdered calcium supplement or 1 tablespoon ground bone
- Mix the protein and veggies in a bowl.
- Add the ground oats and rice. Stir until paste forms.
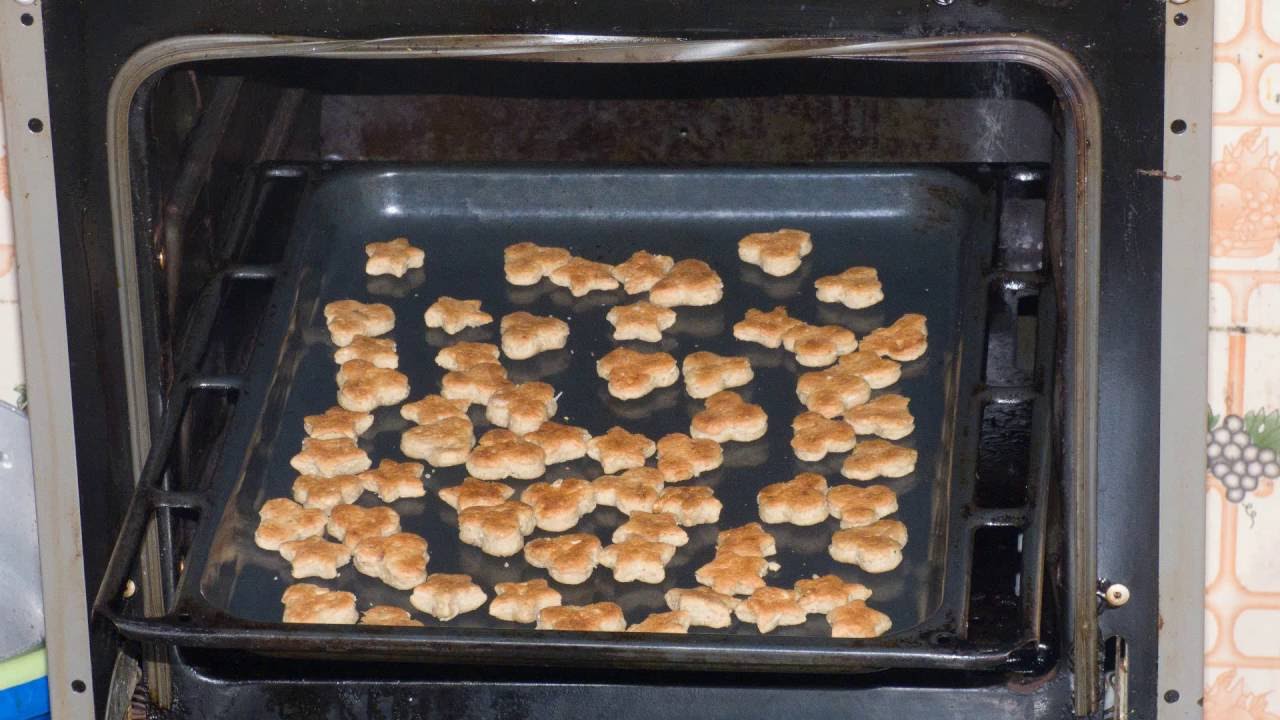
- Spread thinly on a lined baking sheet (about 1/8 inch thick).
- Bake at 250°F for 2 to 3 hours until dry and firm.
- Cool and break into kibble-sized pieces. Dehydrate further if needed.
Dehydrator kibble (low-heat, nutrient-preserving)
- Ingredients (same basic ratios as oven)
- Blend protein and grains to a dough-like mix.
- Form thin sheets or small patties.
- Dehydrate at 145–155°F for 6 to 10 hours until crisp.
- Bake at low heat for 10–20 minutes if you need extra crispness.
- Cool, break into pieces, and store.
Tips for both methods
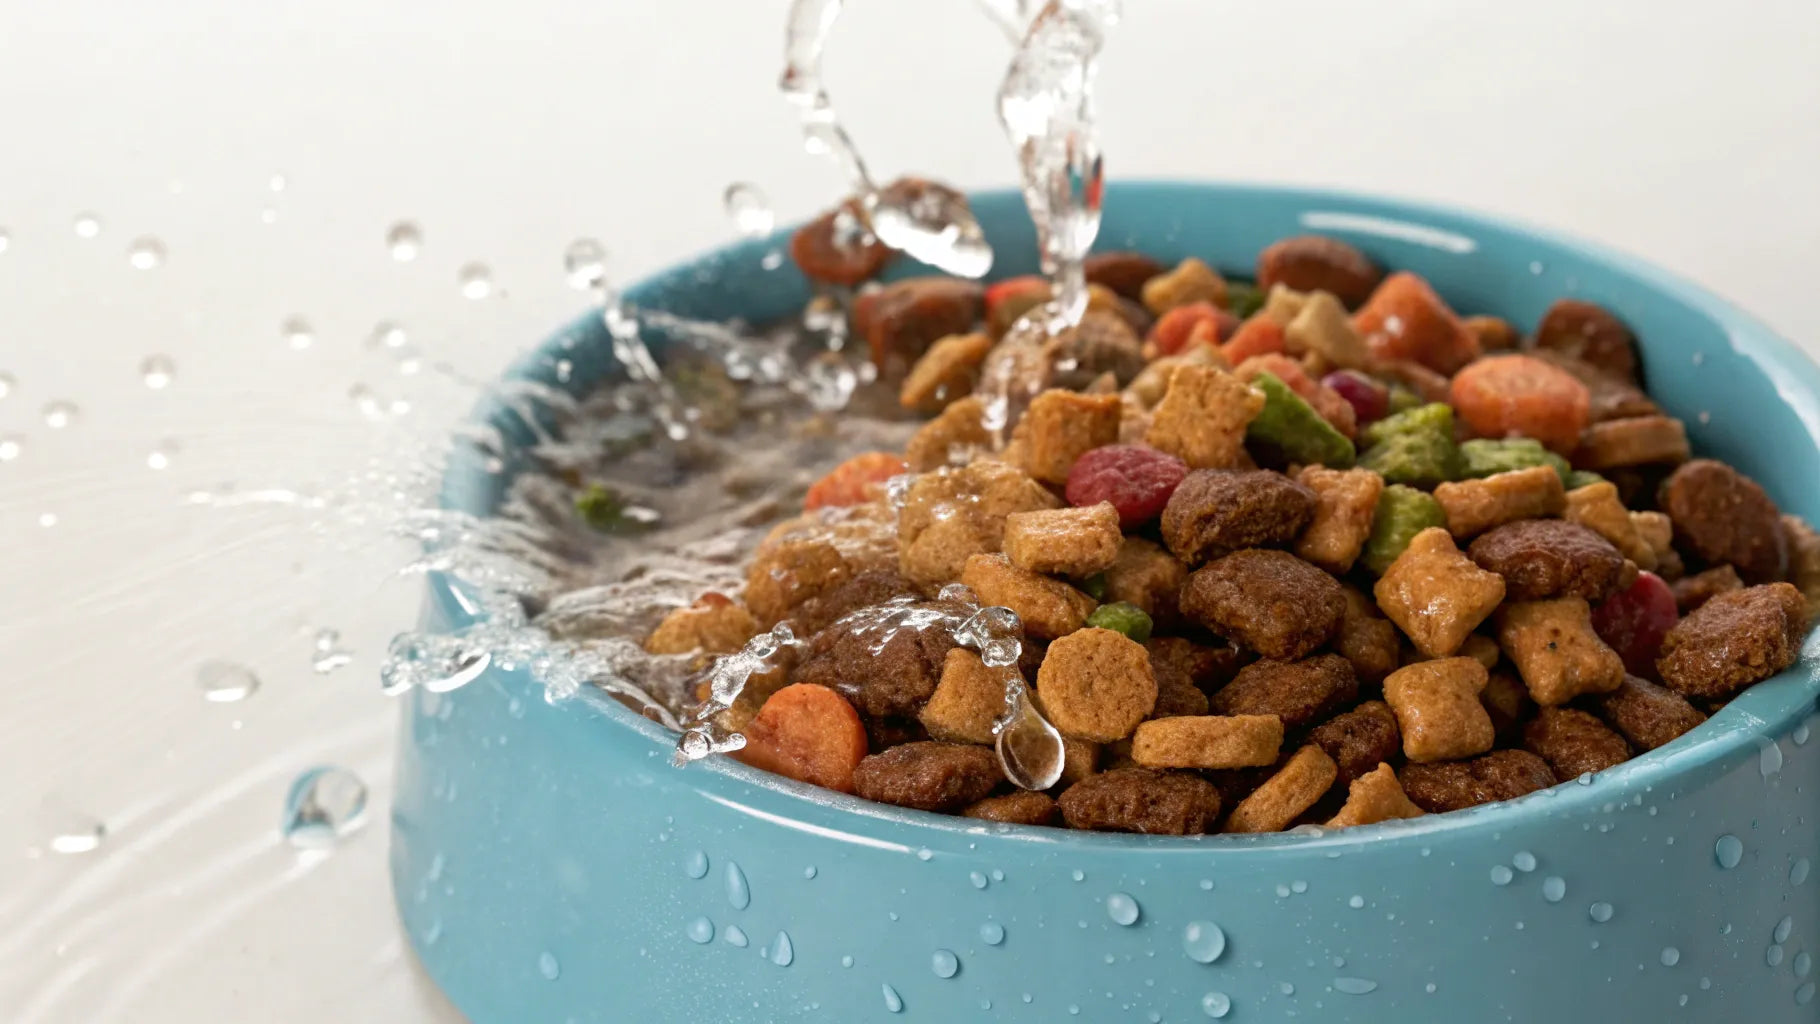
- Test moisture: break a piece; it should snap, not bend. If it bends, dry longer.
- Store only fully dried food to avoid mold risk.
- Keep a trial sample for vet analysis if you plan long-term feeding.
Source: houndsy.com
Balancing nutrition and supplements
Many home recipes lack micro-nutrients. Supplements bridge the gaps. Use a canine-specific multivitamin or follow a vet-approved recipe.
Common gaps and fixes
- Calcium: add ground bone, bone meal, or calcium citrate.
- Omega-3s: add fish oil or algal oil for dogs with fish allergies.
- Zinc and copper: found in organ meats or as supplements.
- Probiotics: help digestion, especially after switching foods.
Professional checks
- Send a recipe to a veterinary nutritionist for a full analysis.
- Consider periodic bloodwork to check vitamin and mineral status.
Source: petreatsmachine.com
Storage, shelf life, and feeding tips
How you store dry dog food affects safety and freshness. Proper drying and packaging extend shelf life.
Storage tips
- Cool food completely before packing.
- Store in airtight containers in a cool, dry place.
- Use vacuum sealing or oxygen absorbers for longer life.
- Label with date and batch info.
Shelf life guidelines
- Room temp: properly dried and sealed, 1 to 2 weeks.
- Refrigerated: 2 to 4 weeks.
- Frozen: up to 6 months. Thaw and re-dry if moisture returns.
Feeding tips
- Transition slowly: mix homemade dry dog food with current food for 7–10 days.
- Monitor stool, weight, and energy. Adjust portions for calorie density.
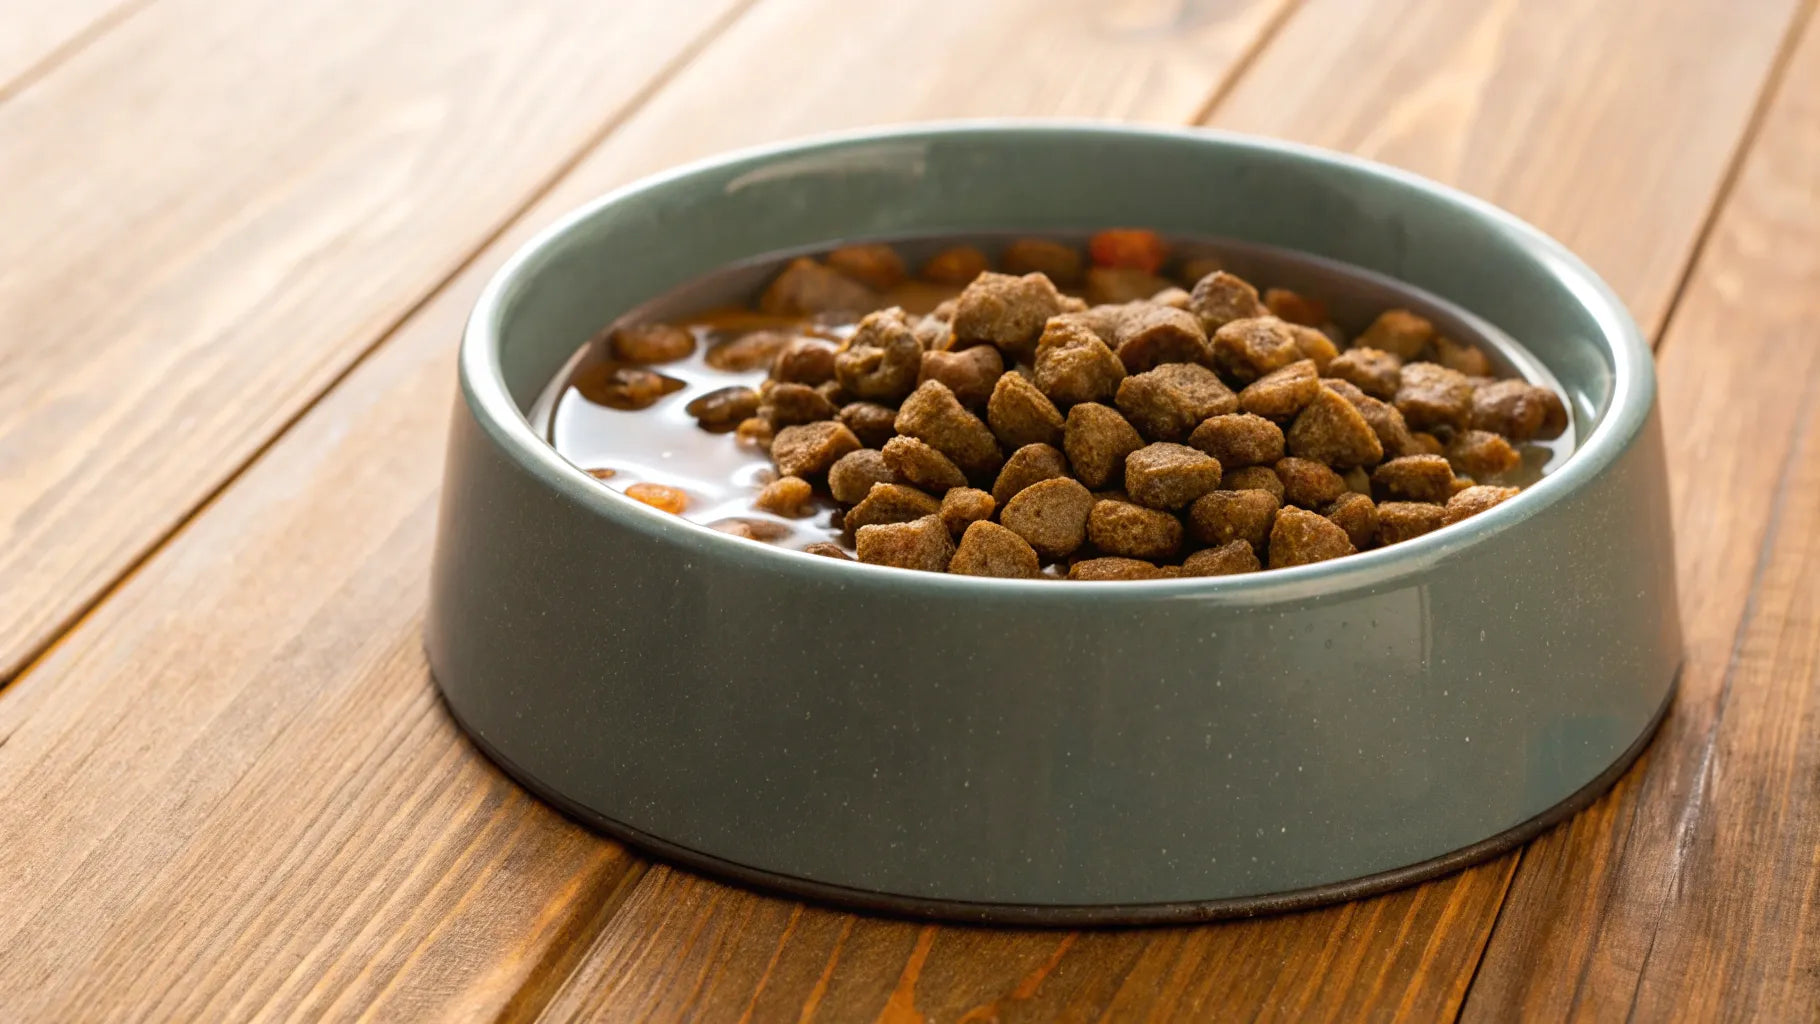
- Keep fresh water available at all times.
Source: houndsy.com
Common mistakes and troubleshooting
Many home cooks make repeatable, fixable errors. Know these to avoid wasted batches and health issues.
Frequent errors
- Not drying enough: leads to mold and spoilage.
- Skipping calcium: causes bone and joint issues over time.
- Relying on one protein: can create nutrient imbalances.
- Using too much salt or spices: unsafe for dogs.
Troubleshooting
- If kibble is soft after storage, re-dry in the oven at low heat.
- If dog rejects new dry food, try adding a bit of warm broth to increase aroma.
- If stool changes persist, pause and consult your vet.
Source: fredmeyer.com

People also ask (PAA-style questions)
How long does homemade dry dog food last?
Properly dried and stored, it lasts 1 to 2 weeks at room temperature. Refrigeration or freezing extends life to weeks or months.
Can I use human recipes to make dry dog food?
Human recipes often lack dog-specific nutrients. Use dog-safe ingredients and add canine supplements when needed.
Is homemade dry dog food cheaper than store kibble?
It can be, depending on ingredient choices and scale. Buying in bulk and using simple grains lowers cost.
Will my dog get all nutrients from homemade dry food?
Not always. Many homemade foods lack micronutrients unless you add supplements or follow a vet-approved recipe.
Do I need a dehydrator to make dry dog food?
No. An oven works well for small batches. A dehydrator is more energy-efficient for frequent, larger batches.
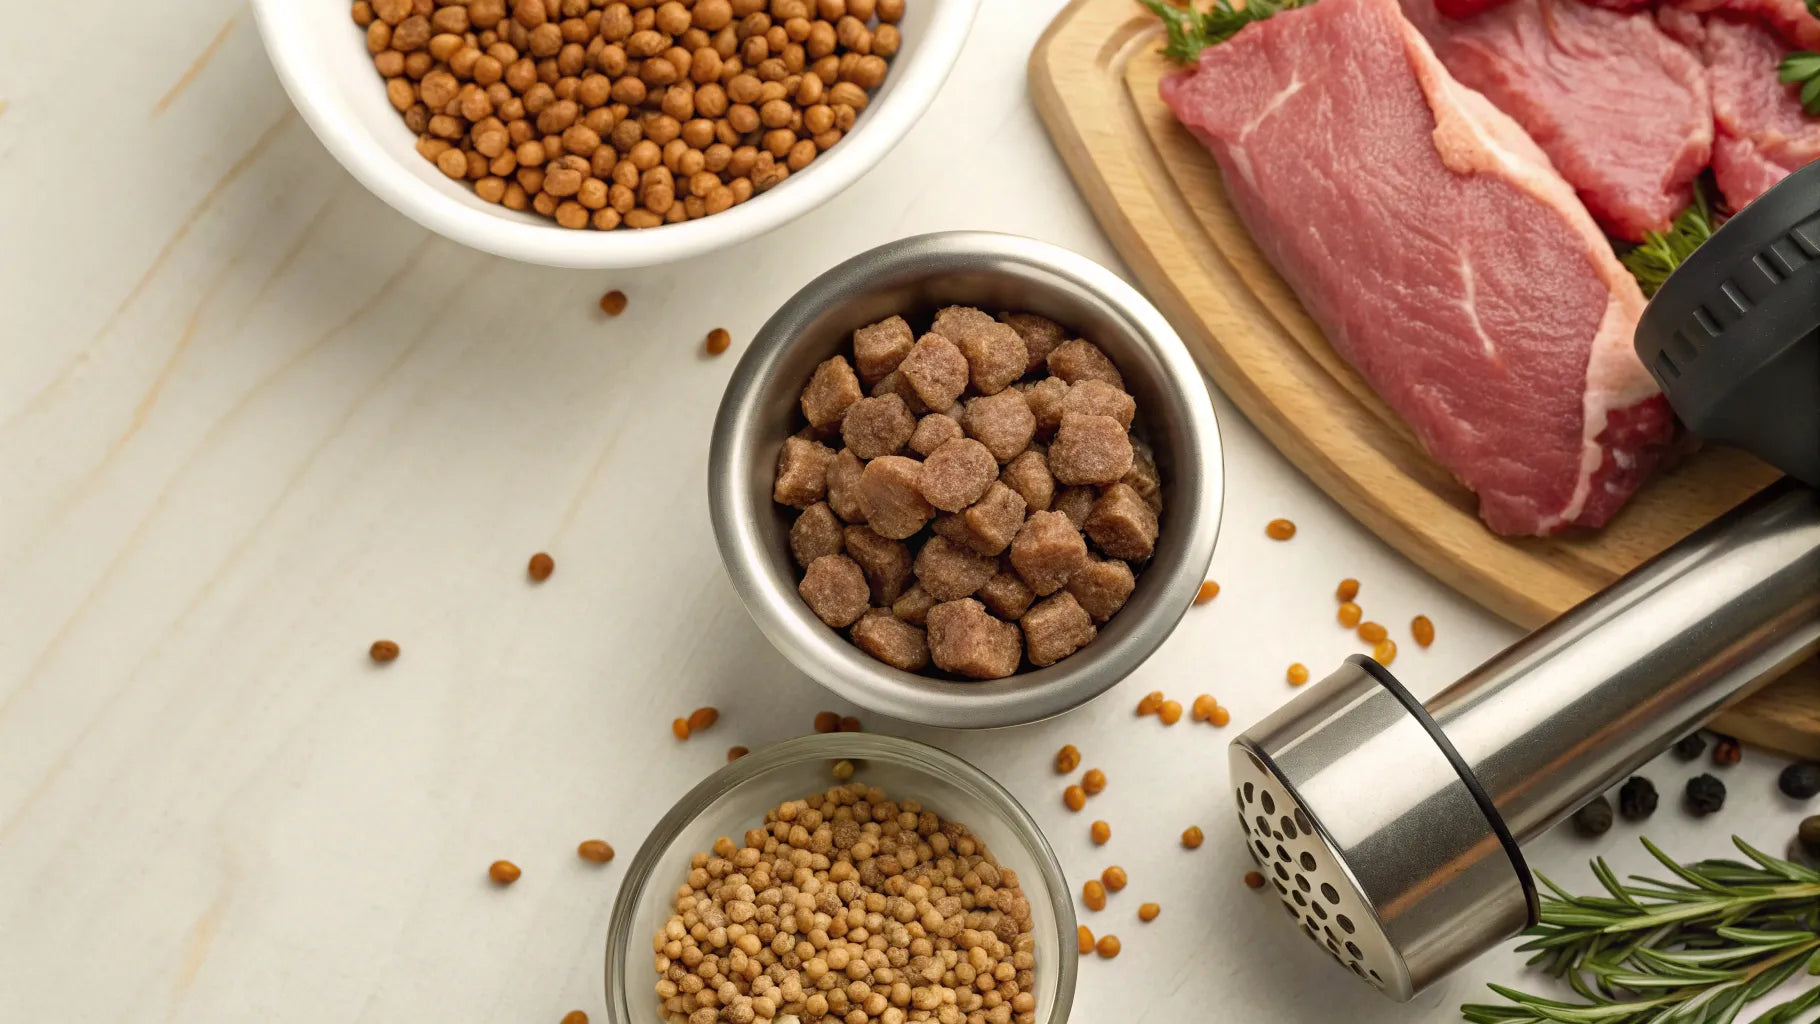
Frequently Asked Questions of How To Make Dry Dog Food?
What is the easiest way to make dry dog food at home?
Baking a thin sheet of mixed protein and grain at low heat is the easiest. Break it into pieces after it cools and dries.
How do I ensure homemade dry food is balanced?
Work with a veterinary nutritionist or use a tested recipe and add recommended calcium and multivitamins. Regular checkups help confirm balance.
Can I use raw meat for dry dog food?
Raw meat raises safety concerns and requires careful handling. If using raw, freeze to reduce parasites and follow strict hygiene rules.
How often should I switch to homemade dry food?
Transition gradually over 7–10 days. Watch digestion and behavior. Only switch fully when your dog tolerates the new food.
How do I know if the food is too moist?
If pieces bend instead of snapping, they contain too much moisture. Dry longer to prevent mold and spoilage.
Conclusion
Making dry dog food at home is doable and rewarding. Use balanced ingredients, follow safety rules, and dry food fully. Start with small batches. Consult a vet to confirm nutritional needs. Try one recipe this week and keep notes. Share results with your vet and consider subscribing for recipe updates or leaving a comment with questions.