Last Updated on March 24, 2026
To reverse sear chicken breasts, first, season the breasts with salt and pepper, then roast in the oven at a low temperature (275°F) until they reach an internal temperature of 120°F. After that, sear them in a hot skillet until golden brown and cooked to an internal temperature of 165°F.
This method ensures juicy and perfectly cooked chicken breasts. When it comes to cooking chicken breasts, the reverse sear method is a game-changer. By starting with a low oven temperature and finishing in a hot pan, you can achieve a beautifully seared exterior while maintaining a juicy and tender interior.
This technique is ideal for those who prefer their chicken breasts perfectly cooked without being dry or tough. Whether you want to impress your dinner guests or simply enjoy a delicious meal at home, mastering the reverse sear method will elevate your chicken cooking game.
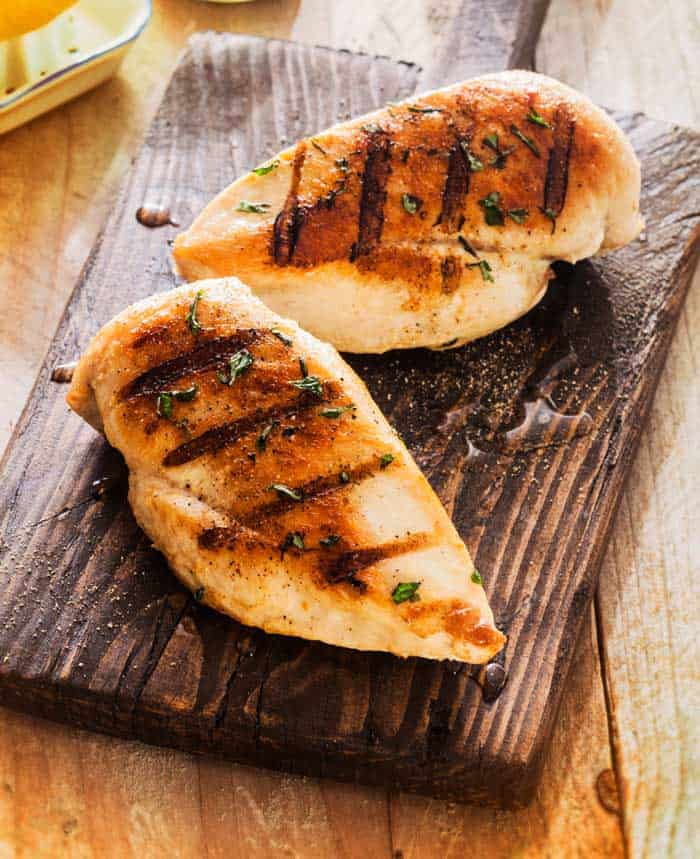
Credit: theonlinegrill.com
The Reverse Searing Technique
Reverse searing is a cooking method that involves first slowly cooking the meat at a low temperature and then finishing it with a quick sear at high heat. This technique results in perfectly juicy and tender chicken breasts with a beautiful caramelized crust. Understanding the reverse searing technique allows you to achieve consistent restaurant-quality results at home.
Explaining The Concept Of Reverse Searing
Reverse searing involves a two-step process of cooking the chicken breasts. First, the chicken is cooked at a low temperature in an oven or on a grill, allowing it to gently come up to the desired internal temperature. Then, the chicken is seared in a hot skillet or on a grill to achieve a crispy exterior, locking in the juices and adding flavor. This method ensures that the chicken is evenly cooked throughout, without the risk of overcooking or drying out the meat.
Benefits Of Reverse Searing For Chicken Breasts
- Even doneness: Reverse searing allows the chicken breasts to cook evenly from edge to edge, resulting in a perfectly tender and juicy texture.
- Crisp exterior: By searing the chicken breasts after they are cooked through, you can achieve a deliciously crispy and golden-brown exterior, enhancing the overall eating experience.
- Precise control: The slow cooking process of reverse searing provides more control over the final internal temperature of the chicken, reducing the risk of overcooking and ensuring a succulent result.
- Enhanced flavor: Slow cooking the chicken breasts before searing allows the flavors to develop fully, resulting in a more flavorful and satisfying dish.
Steps For Perfectly Reverse Searing Chicken Breasts
When it comes to cooking chicken breasts, reverse searing is a foolproof method for achieving juicy and flavorful results. By slow-cooking the chicken at a low temperature and then finishing it with a quick sear, you can create a perfectly cooked and tender dish. Here are the essential steps for perfectly reverse searing chicken breasts.
Selecting The Right Chicken Breasts
Start with high-quality, boneless, skinless chicken breasts for the best results. These should be uniform in size to ensure even cooking.
Preparing The Chicken Breasts For Reverse Searing
Pat the chicken breasts dry with paper towels to remove excess moisture, which can hinder the searing process. This will help achieve a crispy exterior.
Using The Appropriate Seasoning And Marinade
Season the chicken breasts generously with salt and pepper. You can also add herbs, spices, or a marinade to infuse the meat with flavor. Let the chicken breasts sit in the seasoning or marinade for at least 30 minutes to enhance the taste.
Choosing The Cooking Method (oven, Grill, Or Sous Vide)
Preheat your oven or grill to a low temperature, around 275°F. Alternatively, if using a sous vide method, set the water bath to the desired temperature according to the recipe.
Place the seasoned chicken breasts on a wire rack set over a baking sheet or directly on the grill grates. If using sous vide, seal the chicken breasts in airtight bags.
Monitoring The Internal Temperature
Cook the chicken breasts until the internal temperature reaches 10°F below the desired final temperature, using a meat thermometer to monitor the progress. This will ensure that the chicken is cooked through without overcooking.
Resting And Serving The Seared Chicken Breasts
Allow the chicken breasts to rest for 5-10 minutes after cooking to let the juices redistribute, resulting in a more tender and flavorful dish. Once rested, slice and serve the chicken breasts, garnishing as desired.
Frequently Asked Questions On How To Reverse Sear Chicken Breasts?
What Is Reverse Searing Chicken Breasts?
Reverse searing is cooking the chicken slowly with indirect heat before searing for a crispy exterior.
How Do I Prepare Chicken Breasts For Reverse Searing?
Season the chicken breasts with salt, pepper, and any desired herbs before placing them in the oven.
What Temperature Should I Use For Reverse Searing Chicken Breasts?
Preheat the oven to 275°F and cook until the internal temperature of the chicken reaches 130°F.
How Long Should I Let The Chicken Breasts Rest After Reverse Searing?
Let the chicken rest for 5-10 minutes after searing to allow the juices to redistribute.
What’s The Benefit Of Reverse Searing Chicken Breasts?
Reverse searing results in a perfectly cooked, tender chicken with a deliciously crispy outer layer.
Conclusion
Reverse searing chicken breasts can result in tender, juicy, and flavorful meat. This method allows for precise cooking and a perfect internal temperature. By following the simple steps outlined you can easily master the art of reverse searing and impress your family and friends with restaurant-quality chicken breasts.